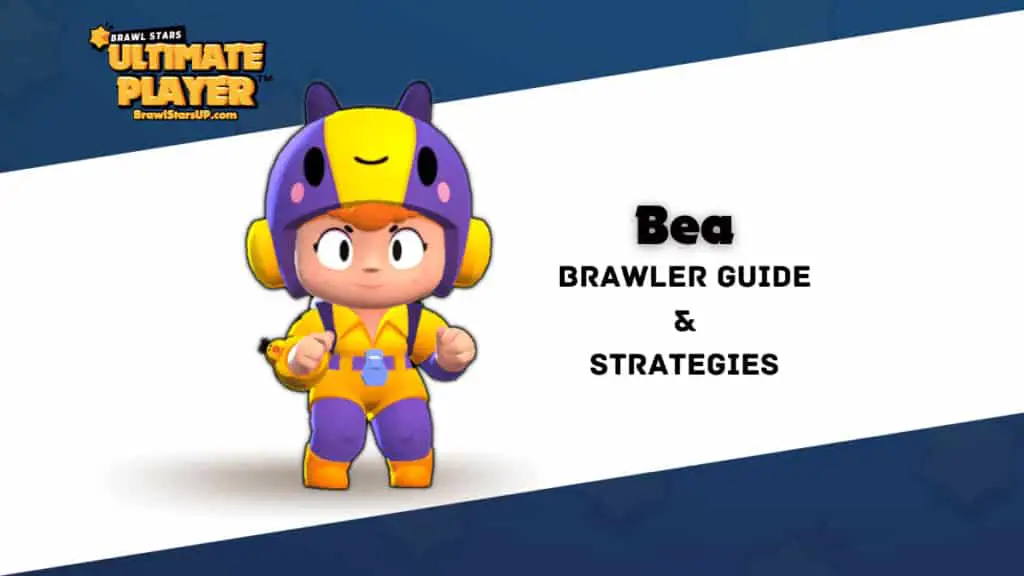
Bea loves bugs and hugs. She shoots her mechanical drones at range, and her Super sends forth an angry army of swarming bees! Get to know Bea Brawl Stars and how she fairs among other Brawl Stars Characters!

Brawl Stars Characters Guide: Bea – The Stingy Brawler!

Basic Information |
|
Star Power: Insta Beaload Instantly supercharge Bea’s Big Sting one time if she misses a supercharged shot.
Bea escapes certain defeat with 1 health, and gains a momentary shield. The power is available again after she is defeated |
|
Bea Brawl Stars ATTACK: Bea Sting
Bea launches a long-range bee that deals moderate damage. If the shot hits an enemy, her next attack becomes supercharged and does 175% more damage. If you miss your shot, your supercharged attack will wear off.
She can deal devastating damage to tanks with her long-range and pretty fast reload speed. Her attack projectile is actually quite big which means you easily hit her shots.

Bea’s Super charged attack. Her range is the same as that of Piper which makes her a really good sniper brawler. Bea has very little health which makes her a squishy brawler hence you should use her very carefully. Dodging Piper shots especially in bounty is very essential or else she can get one-shotted if shes below 3000 health. You can notice that Bea’s main attack is very low, so attack a brawler before opening a box, so that you can break the box faster.
Brawl Stars Characters Guide: Bea Brawl Stars Olympics
THE RANGE TEST
For her regular attack, she has a range of 10 tiles which is exactly that of Piper. Technically it’s 8th longest in terms of range. But her projectile is slower compared to Piper. She is placed at 19th place overall.
THE RACE TEST
She has an above-average movement speed and just as fast as Frank or Rosa. It takes her 12.3 seconds to go from the bottom of the map to the top. Ties her in 16th place.
THE SURVIVAL TEST
It takes 9.6 seconds to kill her with the sniper bot which is not very impressive.
THE ATTACK TEST
She takes the 30th place in this test but she can literally four-shot all the brawlers making her very deadly. But her super charged attack gets her in the second place.
THE RELOAD TEST
It takes 11.6 seconds to clear up the bots which is roughly 1.16 seconds to reload her shots which is insane.
THE SUPER TEST
She is not very impressive because its only meant for slowing down enemies like in case someone is chasing you or controlling a part of the map.
THE CHARGE TEST
It takes 3 shots for her to charge her super and 2.5 seconds approx.
THE ASSASSIN TEST
She deals with 9240 damage in three seconds right between barely and Emz
THE SWARM TEST
She takes insanely long for clearing out the bots, and it is really a lot. It takes her 23 seconds to clear the bots guys.
THE DIVE TEST
She can take out barely 10% off the IKE turret, because of low health and her super which does nothing.
Bea’s Super: Iron Hive
Bea releases 7 drones that spread out as they travel and slow down enemies they hit for 3 seconds. These drones spread out all the way so people who try to dodge will still get slowed down. The super may not sound too fancy and yes it is not the strongest super out there, but it matches Bea. Bea can slow down weak brawler if they try to escape from her and finish them with her main attack.
You mostly want to use your super against tanks where you can stack up your supercharged attack and melt them mercilessly. Note that Bea’s shot will only supercharge her next shot if it hits an enemy Brawler; hitting anything else, such as Showdown crates, the Heist safe, the Seige IKE turret, the Takedown Boss, and Brawler Minions (Scrappy, Nita‘s bear, etc.), will not supercharge her next shot.
USING IRON HIVE
Since Bea’s Super spreads out, it is great for checking bushes. However, since she has to hit other brawlers to charge her Super, only use it to check bushes when you know someone is in the bush, or when you need to enter the bush and it is too big to check with her normal attack.
Note that while it is easy to charge Bea’s Super (3 shots only), her normal shot and supercharged shot charge the same amount (1/3) to her Super. Since Bea’s Super can slow down enemies, she can use it to escape from enemies who are chasing her. She can also use it to slow down enemies who are trying to escape from her.
Star Power: Insta BeeLoad
Bea can regain her supercharged shot if she misses it, giving her a second chance to use the supercharged shot. However, she will not get a third chance if she misses it again. This is a really good Star Power which actually allows hitting the enemies even more easily especially when they dodge your shots. Her supercharged attack projectile is quite big, so you can easily hit one of your two shots.
Star Power: Honey Coat
Bea retains 1 health when defeated and gains an immunity shield that lasts for 0.6 seconds. This ability can only be used once if she remains alive and is available again after she respawns.
This is probably the best star powers in the entire game and this was probably made by the supercell team to compensate her low health, but it is too good to be a compensation. She can literally survive so many brawlers, like Mortis or Leon. But she can’t effectively do that anymore after the recent nerf with the shield lasting 0.6 which was 1-second previously.
Brawl Stars Characters Guide: Best Tips for Bea
- She is a very squishy brawler, so always try to run around and dodge enemy shots in 3v3 game modes because you would be easily three shotted by any brawler especially if you don’t have your super.
- Always have your super ready and don’t use it to kill enemies unless very necessary cuz its the only thing which can help you escape from the enemy when they are after you.
- She may not look like one, but she’s an insane tank killer, four shotting Bulls, and Darryl.
- She can be soo good if you chain her attacks, especially when you hit all of your attacks and super probably could kill any brawler
- Use her honey coat star power in showdown where the enemy is most probably without any ammo and you can immediately finish them
- Insta bee load can be definitely used where there a lot of bushes and it does not matter if you waste your shot in the bush, you get another chance.
- Always look for a 1v1 she shines in that situation, never charge two brawlers at once, that’s where her weaknesses show.
- When her shot is charged, don’t hesitate to take any brawler at close range, the combination of her shots and super can devastate every brawler, even El Primo or Bull.
- Use her super to reveal enemy brawlers in pushes and shoot her charged shot without aiming, it seems to be more accurate that way.
- The only brawler I find she struggles with is Tick, he outranges her, and she can’t get close to him due to his little bombs.
- Bea’s reload mechanics are both a blessing and a curse she’ll be able to stay on the map a lot longer than other brawlers because the only time when she has to fall back is when she’s low on health but she can’t fire up a lot of shots quickly like Brock or other long-range burst brawlers so what kind of gives enemies a chance to find.
BEST GAME MODES FOR BEA BRAWL STARS
Showdown
Bea is a very map dependant in showdown but still has the utility to be used in almost any showdown maps currently on rotation. She can be definitely used in decently bushed maps like a treasure hunt because of her slow down super to check them. She can be really really good against tanky brawlers especially in maps like the eye of storm where she can melt the opponents. Bea has only 1 ammo slot and low health, so she can be ambushed easily. It is advised not to stay too close to bushes that cover a large area like Cavern Churn because Brawlers such as Shelly, Bull, Darryl may be hiding in it.
Gem Grab
She is damn good in gem grab especially because of her unique super, she can totally stop any brawler who is trying to escape from you where you could super them and immediately 4 shot them. She can easily snipe the gem carrier with her supercharged attack. You can use her super on all the enemy teammates when the clump up making it a very team wipe with your team’s help.
Brawl Ball
She is not the best ball carrier but probably the best control brawler in brawl ball. She can always keep the opponents at bay so as never giving them the opportunity to get the ball. Make sure to use your super where there are fewer obstacles, so as to slow down as many brawlers as possible. Tanks are very popular in the mode and this is where she can melt them. 4 shots can melt any brawler and for an add on, her super.
Heist
She is not good at heist because most of the most maps are very bushy and the safe is deep inside the walls. She can’t super charge her attack if she attacks the safe and that makes her a very underwhelming choice for this mode, but she can still be very useful to defend especially because she is too good against tanks and a lot of the people use tanks in the mode. She can also use her super against Darryl and Bull and immediately 4 shot them.
Bounty
She is extremely good in bounty, probably even better than piper especially because of her unique supercharged attack and slow down super. But she can’t escape from tough conditions unlike Piper, so she is gonna be very weak against throwers brawlers especially against Tick.
Siege
She can be an extremely good control brawler against medium-range brawlers, but very weak against thrower brawler like Tick, Dynamike, Barley. Honestly, you can do anything if the opponent has a thrower. She is also pretty bad against the bot where she can supercharge her attack against the robot which makes her a very bad defensive brawler.
Bea Brawl Stars Mechanics By KAIROS TIME
ALSO READ:
- 2021 Brawl Stars Tier List
- Brawl Stars Brawlers List
- Brawl Stars Game Modes Guides, Maps and Strategies
- Brawl Stars Tier List and Beginner’s Guide
- Top 10 Newbie Tips That Turn Everyone Into Pro!
- Can Brawl Stars Be Played On PC?
- IS EMZ GOOD IN BRAWL STARS?
