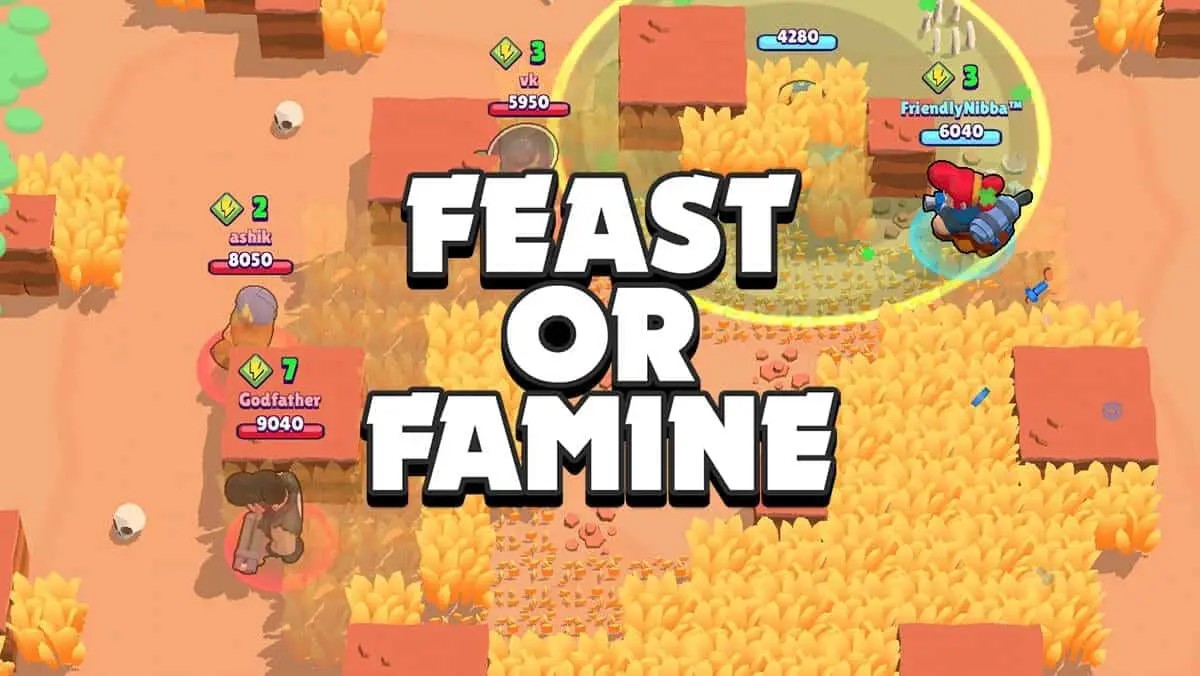
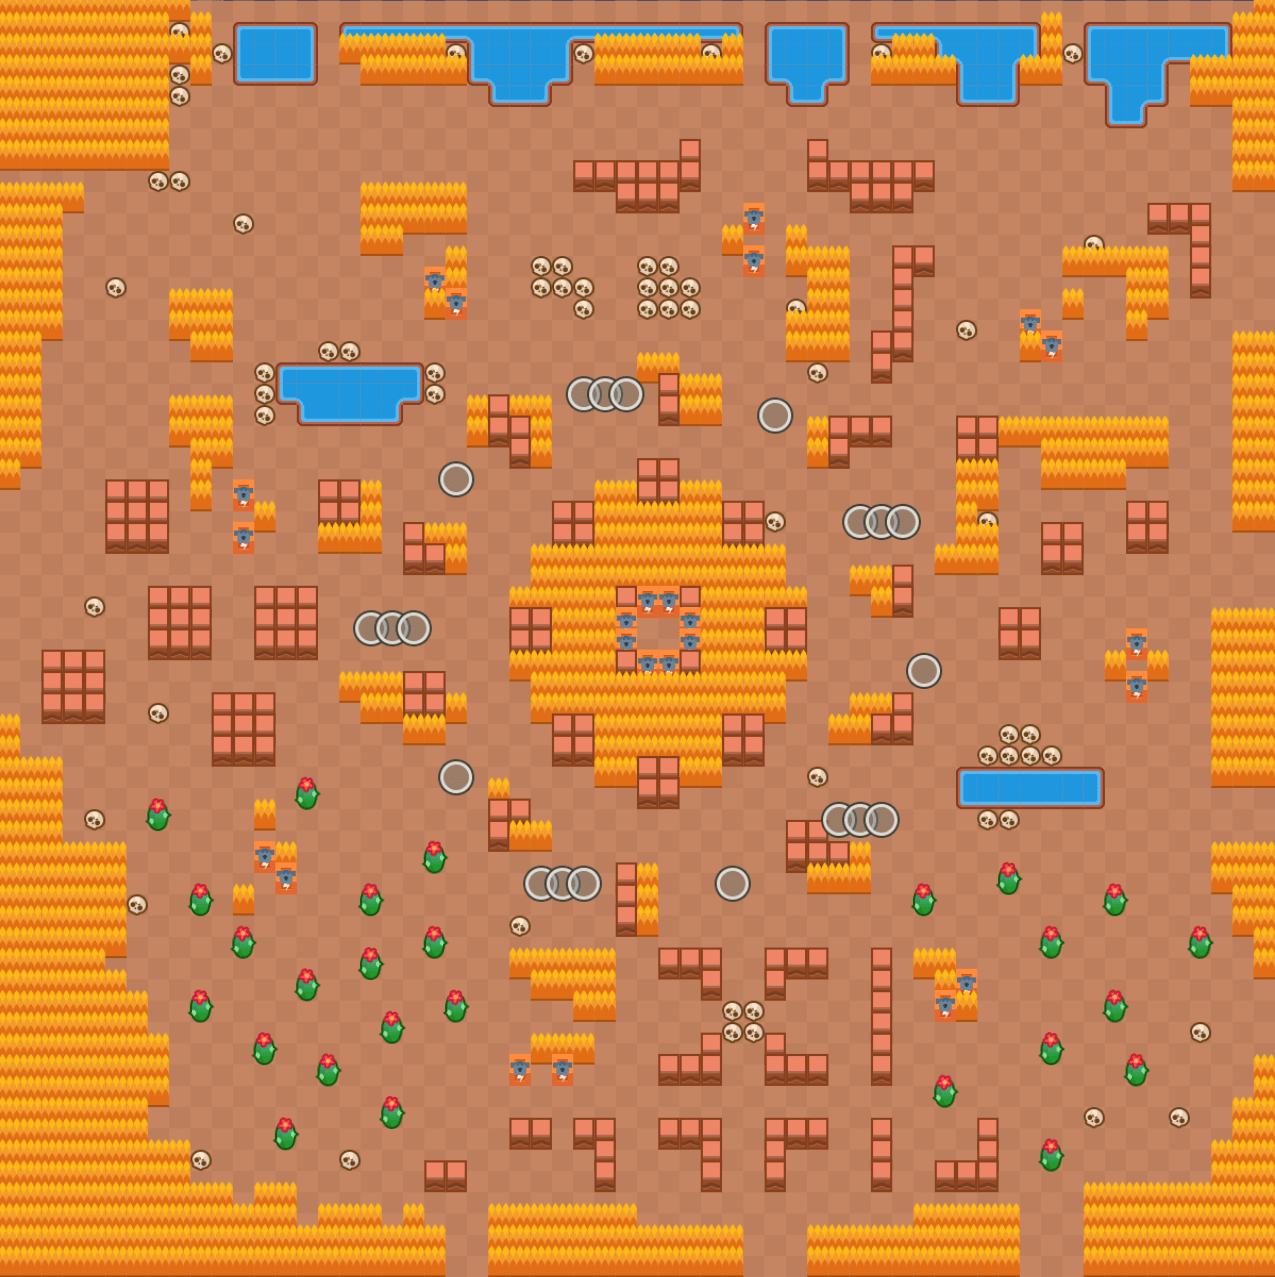
The Feast or Famine Map
Source: Pixelcrux
Quick Guide for Feast or Famine Map
Shared by Wulf
[toc]
The Feast or Famine is my personal favorite in all of Brawlstars. Why?
The mass mayhem and easy trophies! (Currently at ~6000 ![]() trophies at the time of writing).
trophies at the time of writing).
Worst case scenario, you get an unlucky spawn. It happens time to time and you lose 2-7 trophies about one in every ~12-15 games if it does happen.
I will run down the basic passive strategy you can use to possibly get yourself an extra couple thousand trophies on this map, so long as you follow my guide!
Pick your brawler carefully!
No brainer, but the first 10 seconds are the most critical here.
If you’re looking to gain trophies on a weaker character because you’re tired of randoms, I completely understand. Be aware you will be playing incredibly safe. If you are on tilt, rotate your brawlers every 2-4 games on this map or take a break.
Do not engage the stronger brawler!
Again, self-explanatory.
If a Bull or Primo or Shelley swings over to get you off your boxes, you can do 1 of a few things.
Note this does not say “Do not challenge” the stronger brawler! If he/she makes a mistake, catch him out of position and punish that. Punish every mistake! Even a misstep that messes up their gap close and puts them in danger.
- Let him have the box so he can’t chase you.
- Poke him if you’re ranged.
- Shove him into another brawler, delete him, and run in the opposite direction. Use the fallen power gems as objectives to play around.
- Be wary always of bushes. Don’t be a maniac throwing stuff and compromising yourself. Don’t be your own liability. Strategically choose a couple bushes to check and hide in the bush most equidistant from those so you know the immediate ones are safe. You can now monitor who enters/leaves your area and setup your quite temporary camp however you like.
Showdown Map Tips For The Rockwall Brawl Map
If you spawn in a “corner” within the hexagon-looking shape at the start of FoF
It is critical what you do in the first 5 seconds!
Look at what the brawlers to the immediate left and right of you are doing.
Whichever one goes for the middle, go to that side and get the box possibly left behind. If there’s no box, assume the nearest brush.
If neither go for the middle, you can either go for the middle, OR, while they are busy with their boxes, continue diagonally and go to the far outside of the map and slowly rotate inward. If you think it’s safe, you can cut linearly from the “inside.”

Strongest Brawlers in Feast or Famine
Your biggest threats on this map will be ![]() Bull,
Bull, ![]() El Primo,
El Primo, ![]() Colt,
Colt, ![]() Leon, and
Leon, and ![]() Dynamike. Possible substitutes are
Dynamike. Possible substitutes are ![]() Shelley and
Shelley and ![]() Rico.
Rico.
That doesn’t mean other Brawlers can be shrugged off. ![]() Penny can corner you into your doom.
Penny can corner you into your doom.
 Bull
Bull
You are 99.99% guaranteed to encounter a Bull with at least 9-12 Power Gems in the middle brush if you are the last 2 brawlers left.
To deal with a Bull, you have to kite him and abuse his short-range. Make him use his Super to escape.
If you’re playing as Colt, you can more than melt him if you play smart. Save the third bullet. If Bull starts playing around the cacti or walls, keep a close eye and don’t get closer. He’s trying to heal and waiting for you to make a mistake like getting closer. You can try to shove him behind a wall so the storm cuts off his escape at one end of said wall. Funnel him out and gun him down.
If Bull is in the middle, and sees you trying to enter, you can also bet he will be as close to that edge as possible so he can explode your face. All the more reason to shoot into the middle brush first. Try to shoot such that you cover the most brush possible with a single shot and within the highest probability of another brawler’s hiding spot.
 El Primo
These guys will try to challenge your boxes. They have the beefiness and DPS to do it.
You will hardly meet a passive El Primo.
Check every bush before you get Macho-Punch-to-the-face Syndrome.
To steamroll a Primo before the storm gets too close, you have to punish his lack of range early on.
Don’t let him get his Super.
Also, if he gets just one punch off you, you are not kiting correctly and you are on the verge of seeing the Defeat screen.

Colt
He will chase you if you get anywhere near him.
Do not engage without a plan.
If you spawn next to him and try to get your box, you will be gunned down if you don’t show some sort of competent defense or juking. He wants his trophies more than you if you let him.
Do not get stuck behind the walls to the far North/South/East/West. The Storm will close in, and you will be trapped.
Punish his aggro by dodging and getting within range or luring him elsewhere or leaving the area altogether.
Here’s how: he can only shoot in one direction, but he can move while doing so to cover a small range of fire. He’s locked in until the animation is finished or canceled. This means that as soon as you switch directions, the bullets will not necessarily get you, especially if you turn opposite the direction the Colt is going or shooting. Try being perpendicular to the fire, then parallel when you want to move closer. Alternate until Colt backs off or you obliterate him. Make sure your movement is as random (unpredictable) as possible to increase your odds of living.
 Leon
Leon
Keep your distance, since he does more damage based upon closeness of range.
It would be better to be hit by the outside 2 shots than all inner 4.
 Dynamike
Avoid chokeholds.
His hitbox is bigger than what it looks like. It’s a circle about the dynamite when it explodes, so consider it a blast radius.
This is to say, do not always pause to reverse direction. You can almost tell where he is throwing, especially if the Dynamike is running away while throwing.
He will throw in the path he assumes you are taking, which is towards him. To juke this, you must continue getting closer to Dynamike if he is throwing where you just were.
If he is throwing in the direction you are going, back out and try another vantage point.
If there’s another brawler, wait til he’s busy with him.
Dynamike’s weak point is close-range because it takes that delay in his Auto Aim to get his DPS off. The exception is if his Super is up.
Hope these tips help! In the future I may make another Feast or Famine guide for the different modes and elaborate on other strategies you can do there.
Until next time!
More: All Brawl Stars Maps
GET YOUR GAMEPLAY FEATURED!
ALSO READ:


MLGMLGMLG (aka miner ftw)
gg nice guide – also poco is good in this if is damage is maxed – that’s how i got him to 340
1st
Jensen
Wow, Will it ever be released for android?? Or they´ll kill it almost as always…
MLGMLGMLG (aka miner ftw)
they won’t kill it – it’s a good game
it’ll be released in february sadly 🙁 (educated guess)
Jensen
Is that true? In February? :O
MLGMLGMLG (aka miner ftw)
it’ll be released during a big update; the next one will be on december 3rd or 10th (another educated guess); currently, the game is a little unbalanced so they’ll work out a few tweaks – big updates are released in even numbered months only therefore it’ll be released in february or april
Jensen
Wow, Thanks. I hope it´ll be released as soon as possible 😉
MLGMLGMLG (aka miner ftw)
me too
Bezbakri
GG. I prefer edges.
JK_Brawl Stars Ultimate Player
wha if 3 crows are at the centre and i am using shelly should i attack or run away