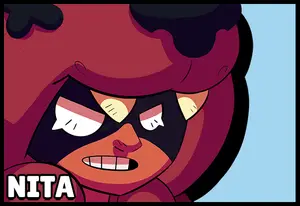
Nita Brawl Stars Character Information
Basic Information |
|
Star Power: Bear with me Nita recovers 500 HP whenever her bear hits an enemy. When Nita deals damage, her bear regains 500 HP.
Nita’s bear attacks faster. Time between swipes is reduced by 60%. GADGETS: Bear PawsNita commands her bear to slam the ground, stunning all enemies within its reach |
|
Brawl Stars Character Abilities

Primary Attack: Rupture
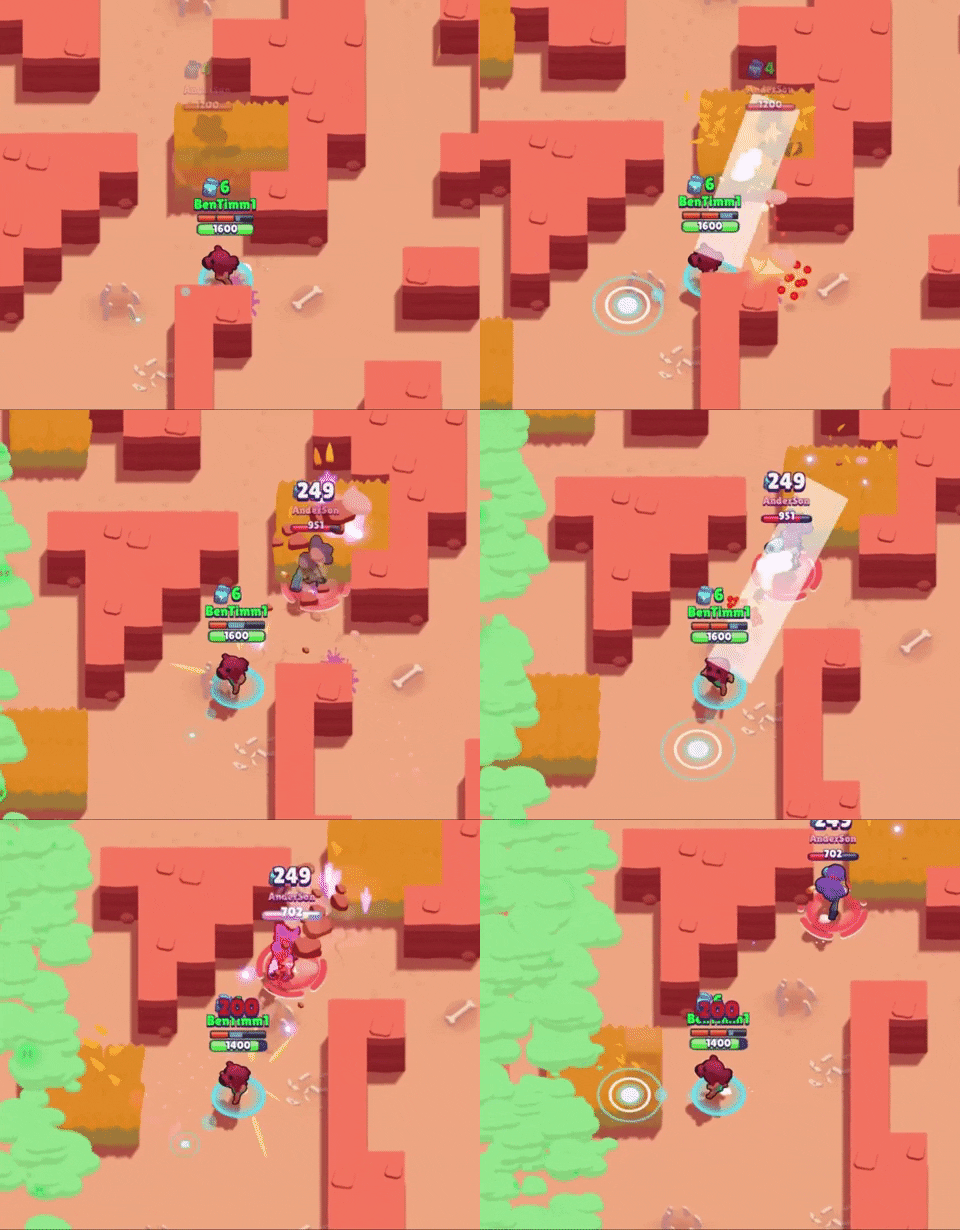
Nita sends forth a shockwave, rupturing the ground and damaging enemies caught in the tremor.
Nita creates a ranged shockwave that deals moderate damage to all enemies that it hits. It has a moderate range, and the shockwave is fairly wide, though it does not spread out as it travels.

Super Ability: Overbearing
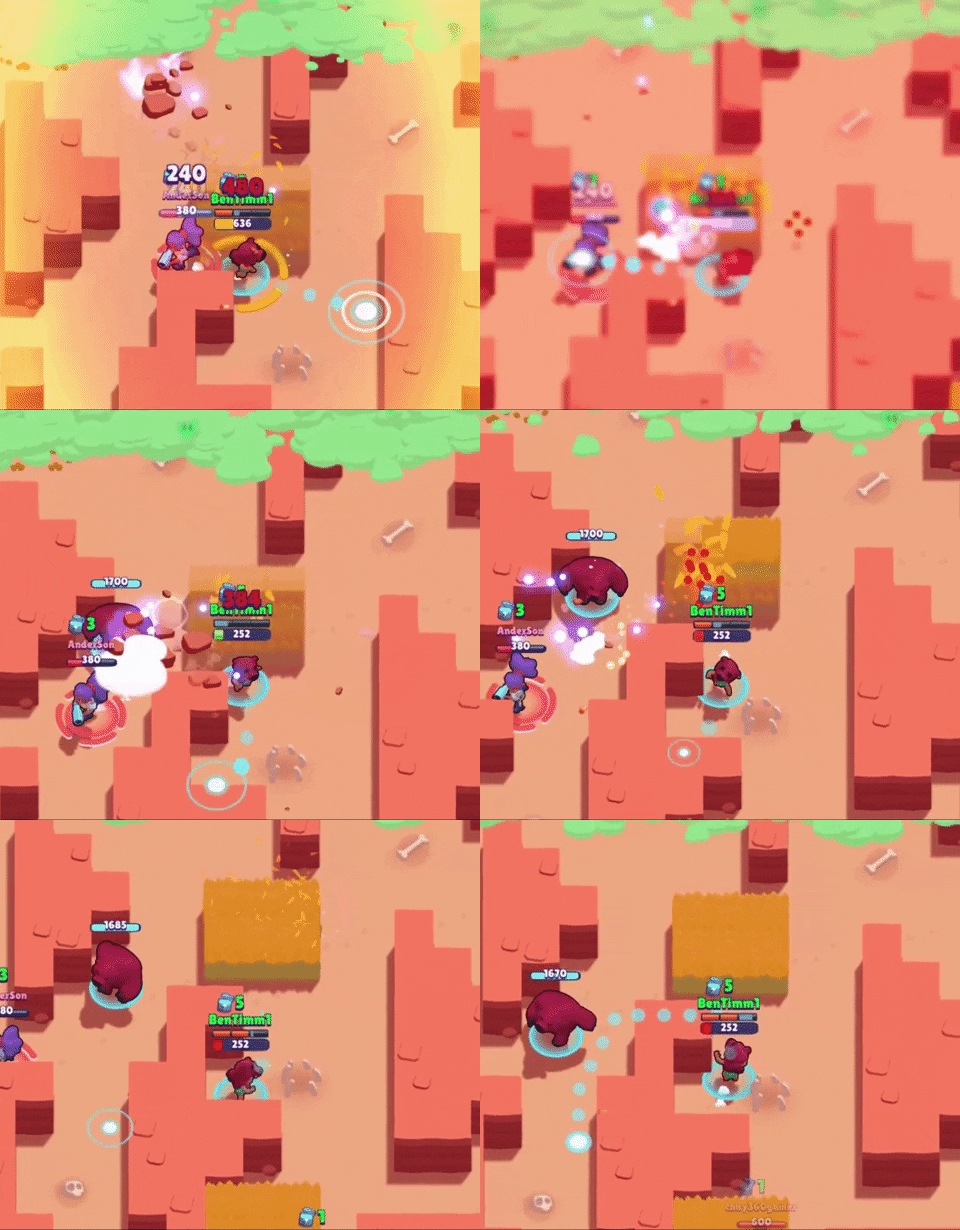
Nita summons the spirit of Big Baby Bear to hunt down her enemies.
Nita Strengths and Weakness
| Well rounded brawler that is good on both offense and defense. | Not good attack range. |
| The Bear is excellent on defense and scouting. | Average HP. |
| Excellent in Gem Grab | |
| Basic attack can do damage to multiple targets. | |
| Bear attacks can charge her Super |
Best Game Modes for Nita
 Heist
Heist Brawl Ball
 Gem Grab
 Showdown
Brawl Stars Character Matchups
Great Vs


Not Good Vs


Tips for Using Nita
- Spam the basic attack in the initial engagement helps you build up the Super faster as new players always clump up together at the beginning.
- Always keep the distance, try to do chip damage, poking, to charge up her Super.
- Charging Super is always your top priority.
- Use the Super to build up an attack for your team. He can tank extremely well, as well as do great damage.
- Place the Bear on the other side when solo kill, so the opponent has to deal with either.
- In maps with lots of bushes, use the Bear to scout.
- The Bear always finds the nearest target no matter where they hide. You can always locate them.
- Don’t stay too close to the Bear to avoid splash damage and Jessie’s Orb.
- You can toss the Bear over walls. Do this to force the enemies to get out and get into your attack range.
- Throw the bear in front of groups of enemies and activate her gadget and stun of all of them giving time for your teammates to kill them all.
- Also, the bear can give a lot of control especially in brawl ball, so don’t forget to use them in tight spots.
Complete Guide to Nita: Strategies, Matchups and Game Modes
Who Is Nita?
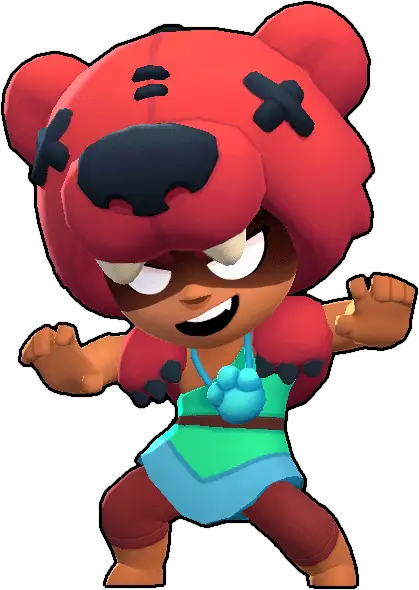
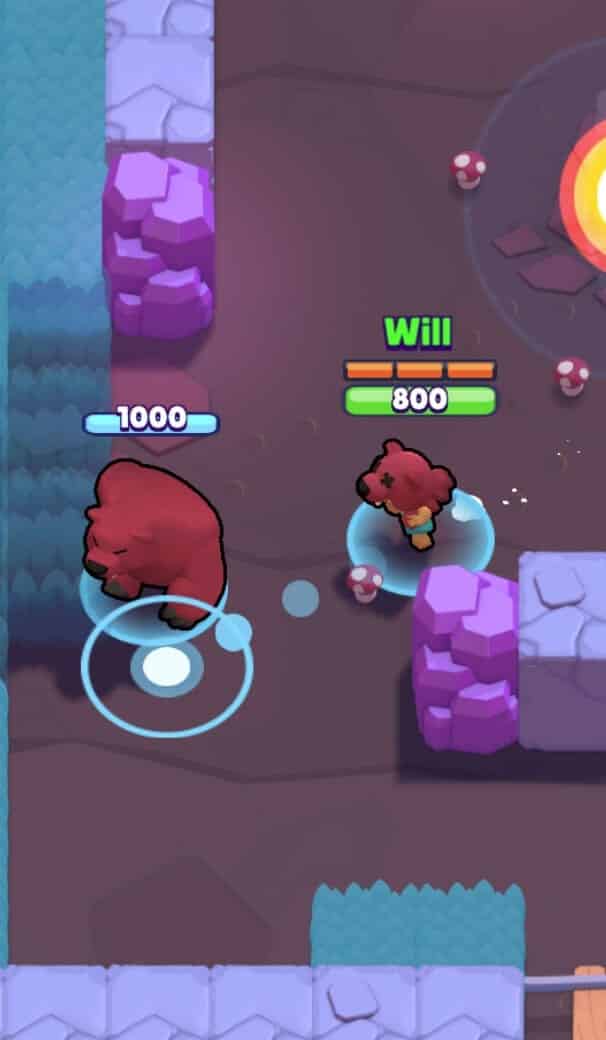 Nita Littlefoot is the latest in a long line of Tribal shamans. Her spirit animal is the Big Baby Bear.
Nita Littlefoot a.k.a the 2 man army is if not the most versatile brawler, one of the most versatile brawler in this game.
She has one of the most feared and strongest super in this game, capable of tanking a thousand damage.
With the exception of being the only melee unit in the game, the big baby bear is also able to deal a limitless count of damage without the need of reloading.
This fearless angry bear maniac tamer can take most of the role in this game. She can easily take the tanking role with the power of the big baby bear. Not to mention that her attacks deal a significant amount of splash damage.
Nita also can be used to corner the enemy by outnumbering it with her bear.
In a 3 v 3 fight, the big baby bear acts as an invaluable tank and space creator for the team of Nita. Space creator means that the big baby bear will cause the enemy to retreat or move from the current area, causing Nita and her team to cover more areas in the map.
This situation become more favorable if the game mode is Smash & Grab, causing Nita’s team to take over the gem mine while the enemy is busy running from the bear.
Brawl Stars Character Overview
 Health
Having a whooping 800 HP as a support, Nita Littlefoot cannot be easily killed. Not to mention that she can also summon a 1000 hitpoints bear, effectively combined and Nita along with her bear have an enormous 1800 hitpoints. That’s the same total amount of hitpoint of El Primo and Ricochet combined.
Normally, you will stay at the middle range based of the amount of hitpoint you have. Nita is not either tanky and squishy. Most of the time, you will use hit n’run tactic while charging up your super power.
 Attack – Rupture
“Nita sends forth a shockwave, rupturing the ground and damaging enemies caught in the tremor.”
A shockwave that deals a good amount of damage. Rupture is capable to deal all enemies at once with its splashing type of attack. The attack itself has a short-mid range and also an acceptable wide range.
What I like about the rupture is that you can spam it and the reload time is also quite fast. Generally, you will hide inside the bushes, waiting for the enemy to pass by. The best way to attack with rupture is to spam all of the attacks together at once and quickly retreat back.
The thing that I dislike about rupture is its range. You will get outranged by most of the enemies, even Shelly is also capable to outrange and poke you. The range is still not that short tho, you will still be able to kite El Primo and Bull. So be careful against a long-ranged enemy, you will need the cover of your bear to carefully go near and kill them.
 Super: Overbearing
“Nita calls the spirit of Big Baby Bear to manifest and maul her enemies.”
Overbearing, one of the most strongest super in this game. You will need to use this super as maximum as possible, otherwise the potential within the bear will be wasted.
This super lets you to summon a maniac teddy bear that has a whooping 1000 hitpoints and with the damage of 100 per claw, to chase any enemy that is the nearest from the bear. Usually, you will summon the bear at the back of the enemy side to prevent them from running to their base, essentially surrounding them to death.
Teddy can also act as a dog that tracks enemies that are hiding in the bushes. In showdown, where you will find a lot of ambush hiding primos, the bear can also be very useful to prevent you to get ganked by those hiders. You may want to use the BBB to gain area control, use this at smash and grab where you will need to take over the middle area to get the gems.
Nita can also be a good showdown brawler, this is due to her ultimate that let her summon a bear that will bodyguard her. You will find some powerups and escape from tough enemies. You may also want to poke enemy that you find to charge the super. When the super is ready, use it to gank solo player by surrounding them from left and right. Cornering them to poison is also very effective and recommended.
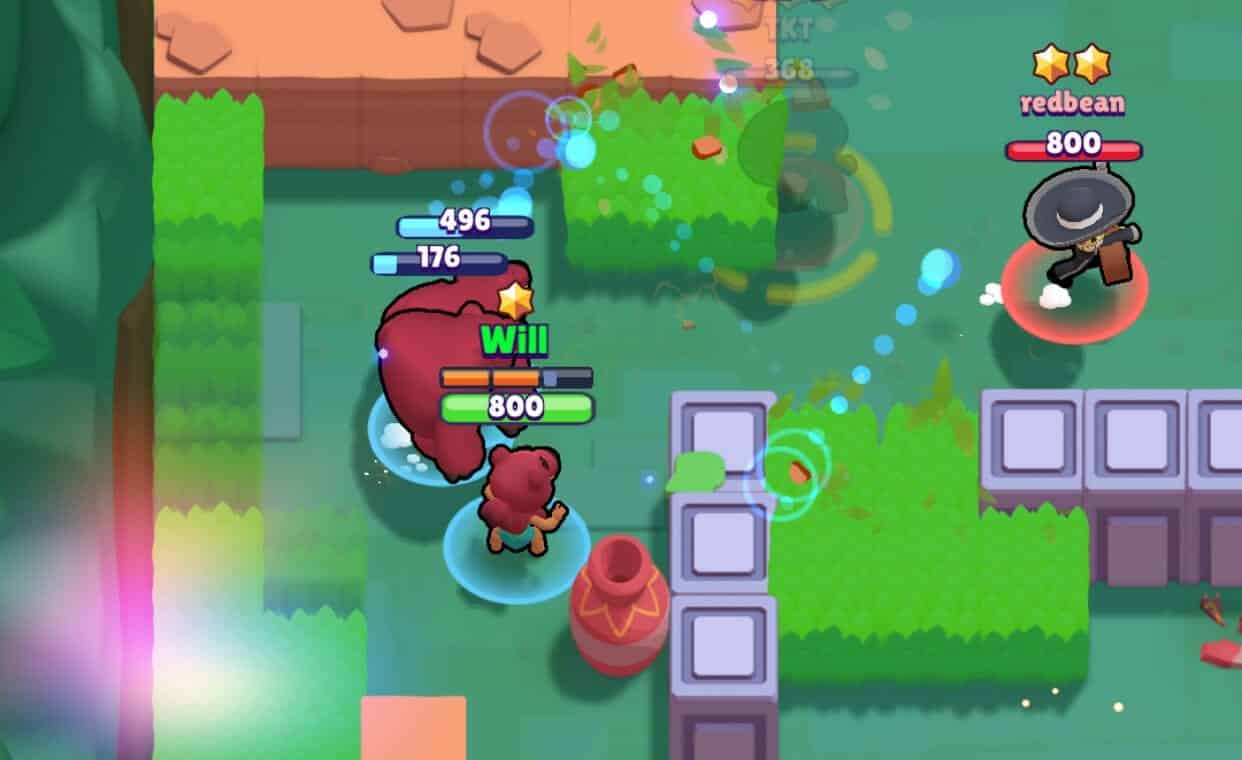
How old is Nita in Brawl Stars?
How old is Nita in Brawl Stars is one of the frequently asked questions about this brawler and leads the way to the question of how old is Nita brawl stars. Many are surprised to learn that Nita is only 10 years old in Brawl Stars.
The Brawl Stars Nita age topic comes up often because this relatively young age is balanced out by her extremely high skill level and sharp thinking in fights. While she is a child, she is actually one of the most memorable brawlers in the game. Now that we’ve addressed the Nita age brawl stars question of how old is Nita from brawl stars for some reason people want to know if the character is a boy. Clearly, the answer is no to the question is Nita a boy.
Her small size also works to her advantage, as she is able to quickly dart in and out of skirmishes without taking too much damage. Nita brawlstars should be nick-named Nita BS because she can be a valuable member of any brawl team, and her quick thinking often leads to victory.
Is nita a good brawler
If you want to know is nita a good brawler the answer is there are better options. Nita is a decent brawler, but she can be easily countered. Her main strength is her long-range attacks, so try to stay close to your enemies to take advantage of this.
Matchups
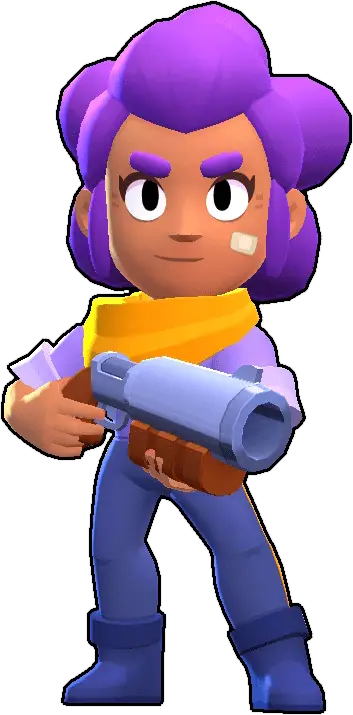
Shelly, one of the strongest solo brawler at the moment. As a Nita player, you can get outranged and poked by her. Dealing with her up close is also a very bad choice. You may want to try juke and outpoke her by using walls and bushes. When your super is ready, try to gank her from both sides as Shelly doesn’t have any splashing power.
Be careful of her shotgun spam and super because it may kill you easily if you get far too close. Try to always keep a distance by standing behind the walls or hiding in the bushes. Shelly is not a preferable opponent for soloing.
But if you have your bear ready, don’t hesitate to go for the kill by surrounding the Shelly. Remember to go from both sides, or you and teddy will just get bursted out by the shotgun Shelly.
The dual pistol spammer from the texas can easily kites both Nita and her bear. Do not run to him in open areas because you will just get destroyed by his rapid bullets in most situations.
Try to figure out how decent the Colt player is by analysing how he position himself and shoot. If you think that he is good, never try to get to him up close without your bear. As his rapid shot can deal up to 480 damage just for one ammo, 2 fully accurate shots and you are done with. You will need your bear to tank for the Colt to ambush him.
If you think that the Colt is not that good or half decent I guess. You can try to kill him solo up close by doing some trick move and accurate hit. Colt area damage is very thin and long so you can easily dodge him if you can move around him in the circle.
Deploying a bear is one of the best choice to go against Colt, as he can’t splash both of you and he will need to take care of the bear first, leading him to an easy target for you.
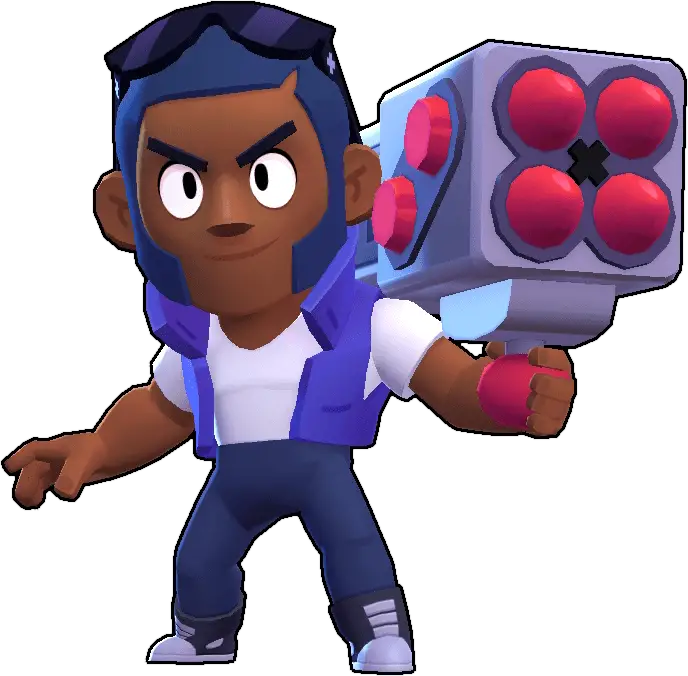
Brock, a brawler with one of the highest skill cap requirement to be played effectively. You will either get sniped by him, or he will be an easy target for you.
First and foremost, Brock needs a very high skillshot to be played effectively. But I would say that Brock is less threatening than Colt. His ult is also rather easy to avoid if you continuously pay attention to his circle line. Use bushes and walls to get near him. Bushes are your best friend, just go hide in the bushes while running into him.
You can also dodge his rocket easily if you run around him in circle, the run n’gun technique is very effective in this situation. You can also use bear as your cover to quickly ambush Brock by cornering him.
Nita also has a pretty good amount of hitpoints to allow her to survive 3 missiles of Brock, as you can easily retreat back when you are get shotted by him.
Your minion spawner rival, Jessie is one of the best control character in the game. As she is placed in A tier in most tier list, you need to play carefully against her.
In my opinion, both Nita and Jessie can counter each other well. Jessie orb gun can easily hit both Nita and her bear, so this is an absolute undeniable advantage for Jessie. And Nita can easily counter Jessie’s turret with her bear. Nita’s bear will win against Jessie’s turret most likely in every situation, the health and damage of Nita bear is just far greater than the turret.
Your overall damage and health is also better than Jessie. You can 4- shot Jessie while Jessie needs to shoot you at least 5 times to get you killed. However, Jessie can easily kite you with the range of her which is far longer than you.
Try to always aim for the turret first, followed by quickly killing the Jessie with the assist of your bear. Don’t hesitate to place the bear in front of her deployed turret for an easy task.
A mirrored matchup where skills are decided the most. You will need to hit her with your rupture while carefully dodging her’s. If you can do it, you can deploy the bear first and quickly followed by ganking the Nita from two sides.
Nita area is very small, so you can’t hit both Nita and her bear most likely. If you happen to get outhitted by her and she has her bear ready, just retreat to the safe area followed by chipping away the bear health with your rupture.
Personally, I have nothing much to say against mirrored matchups because skill is the most deciding factor. You will need to be able to hit while also dodging her projectiles. Try to kill her bear with your projectile rather than compete it with your bear, that way you can save your bear to gank the Nita, making the current situation 2 v 1.
The bomber from clash royale is making its debut in Brawl Stars. Dynamike is one of the most underrated brawler in the game that can pack a big punch if you are reckless enough.
First of all, you can deal with him easily with the assist of your bear. Dynamike can’t really kill both of you fast enough and he needs to be very accurate. Second, you need to pay attention to his super bomb because it is a simple 500 area damage, combine it with his double dynamite and you are dead.
You can counter his behind-the wall Dynamike spam by throwing your bear pokeball on top of him. This will make him to quickly run from the bear, you just gain an area advantage just by doing that. Or you can also support the bear to try to kill the Dynamike as the bear will tank you for a quite amount of time.
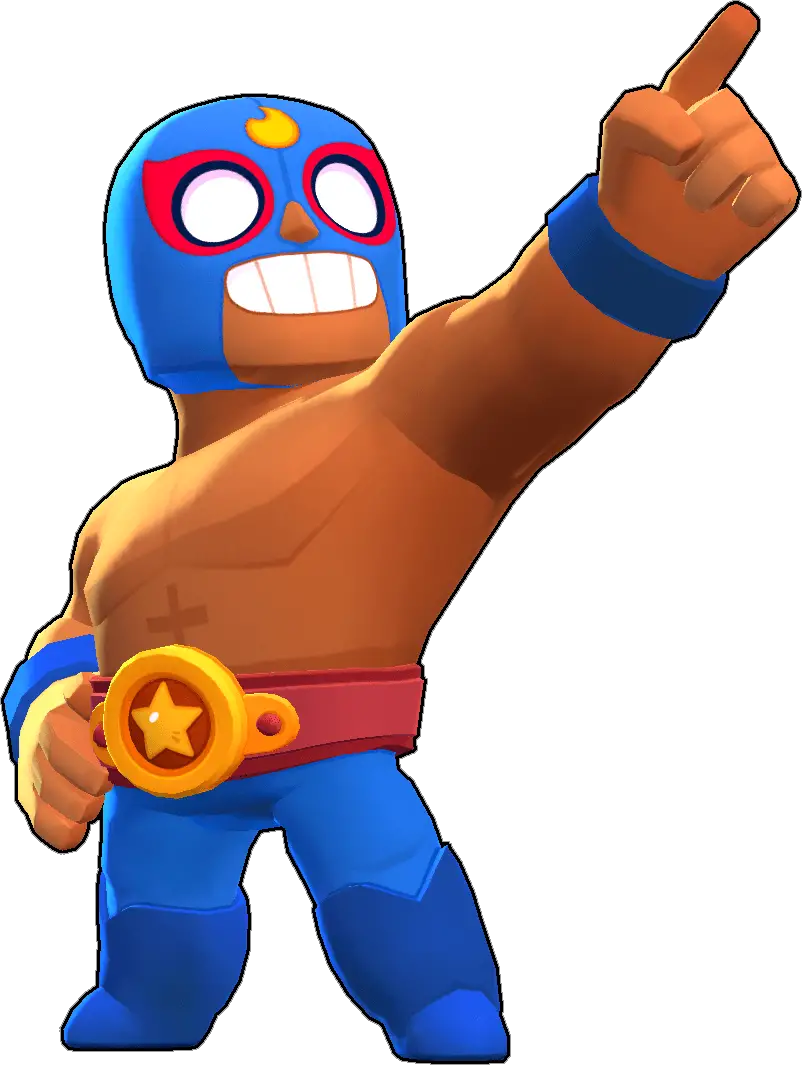
El Primo or so-called as the Mexican guy can be quite hard matchup if you do not maintain your range against him properly.
Things you need to consider first is your lack of range to properly kite him. You need to be able to hit him sneakily while doing running stuff. Try to be very cautious, because if you are in the range of his fists, you are pretty much done with.
Primo punch damage is a rapid 5 punches that deal 80 damage each, land that consecutive fists 2 times in a row and you are shrekt. Useful tips that some player use against El Primo is to use tap to move movement option. This way, you can move easily with the easiest path just by tapping it while also able to let you rupture him while running one by one.
If your super is ready, don’t hesitate to land it on top of the primo. Primo range can be considered range but sometimes your bear will get a hit of from primo, try to support the bear so maybe you can get the kill.
This raging Bull can be considered as a tough matchup I would say. This is just how tanky he is and the damage he gives just hurts a lot.
Let’s do some math first, Bull full shotgun damage is 500 and the health of your Big Baby bear is 1000. This means that Bull is the only brawler in this game that can take down your bear with 2 shotgun shots. Yes, 2 shot that can easily be reloaded in under 4 seconds can be used to take down a 1000 hp tanker that takes a quite amount of time to charge up.
But it will happen if Bull is too close from the bear and the bear will surely at least get 2 hits off. And when he is busy wasting up ammo to kill the bear, you can try to hit him with the cover of your bear.
I would suggest you to bring a partner to take down a Bull since he is only good at taking down 1 person at a time. There is nothing much to do if he use his charge to escape. You can also kite a Bull a tiny bit with your low-ish range although it is not as effective as other brawlers.
Use your bear to block the path if he is gonna escape and he doesn’t have the super, as he may run out of ammo that time. Never try to solo a Bull one on one, there is a good reason why Bull is such a good brawler for the showdown.
The friend of Colt but instead of breaking blocks with his super, Ricochet likes to bounce of his spammy bullets. It can be quite hard to dodge a good Ricochet player, especially Rico’s super, which sends a bigger and faster version of it.
The same absolute method for dealing against Colt can also be used too for Ricochet. Just remember that you need to carefully consider the bouncy aspect that can become harder for you to dodge. Just never stand near the wall if you do not want to screw up.
Always use the bush to go to Ricochet’s side. You can kill Ricochet one on one even without bear. Just remember to carefully dodge Rico’s bullet and hitting with him your rupture should not be a problem. His health is also very small so killing him wouldn’t take that much time.
Barley is also one of the best brawlers in this game due to his capability of area denial. You may want to dodge his bottle most of the time, even his land poison also a quite amount of damage. Hiding behind the walls will not help against a Barley player. Try to outplay him by faking your move so you can go to him.
You need to carefully dodge Barley super because it deals a ton of damage, not to mention that it gives a strong area denial. Distract Barley with bear to avoid him deploying ult early, never try to charge into barley when you know he has his super ready.
Personally, Nita is not a good one on one fighter, her ability shines the most when she is with her bear. You can kill Mr.barley easily if you have bear on your side, so try to charge your super ASAP.
His splash can hit both you and your bear. Be careful against a good Poco player, as he can be tough as El Primo to be killed. Why tough? Because a good Poco player can easily hit most enemies and quickly charge his ult. When the time is right, he can easily heal himself and his friends to quickly recover from the battlefield.
Try to split yourself from the bear and gank Poco from both sides. That way he needs to pick either one of you to be attacked, try to also try to not let Poco’s supercharged up because it means that he will have a 400 health advantage and it is a very deciding factor.
In 3 vs 3 teamfights, you need to try to kill Poco first as Poco can have the potential to give his team a 1200 health advantage which can be an absolute win for Poco’s side. If you are able to deny Poco super by killing Poco first, the situation can be easily game-winning for your team.
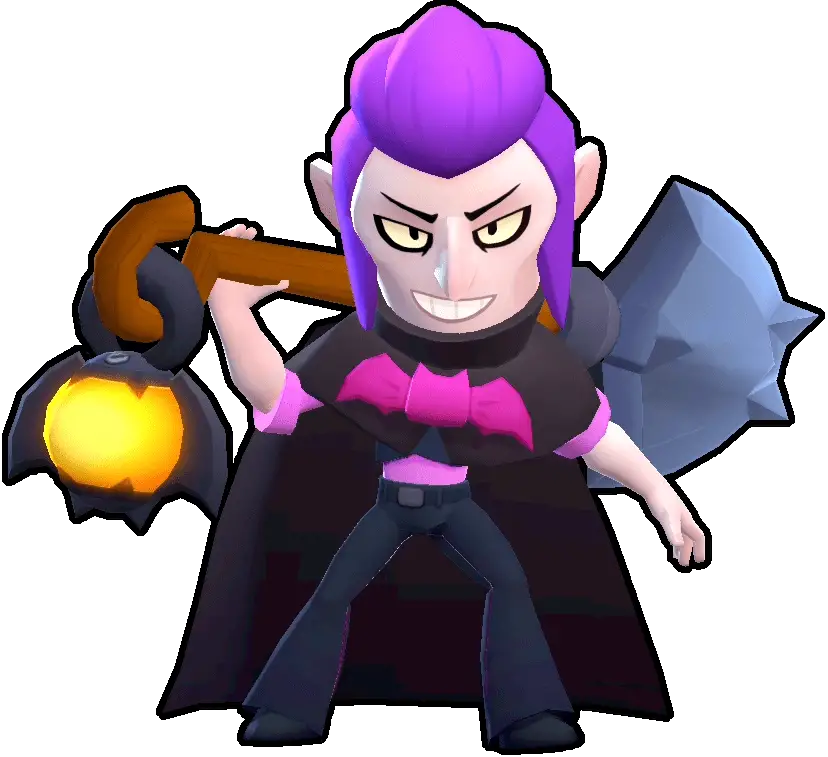
Mortis can be a very hard guy to be killed with. As he can easily escape the most tough situations that even an El Primo cannot.
To deal with Mortis, I would personally say that you need to have your teammates to burst him down. Nita is not that good character for bursting down fast enemy, she shines as a 2 in one brawler which can outnumber enemies.
If you cannot kill the Mortis, do not get killed too. I can’t stress this enough, you need to stay close with your friend if you want to hunt Mortis. Being alone is also an easy target for him. You can also summon your bear as a bodyguard if you want to.
Be careful of Mortis’ ultimate, he can easily steal your bear and your own health for his own.
Bo, I would say that he is also pretty versatile for a brawler. First and foremost, Bo is a damage dealer that shoots a 3 arrow in a row that deals 80 damage each. So it makes him as a sniper damage brawler. Second, his attack also deals with area damage. Not to mention that his super is basically a trapper class. And last but not least, Bo is the only sniper brawler that can be considered as a tank.
To deal with Bo, one of the most effective ways is that you can counter him by deploying your big baby bear to trigger his trap. This means that his super is no problem for your team, you can also deploy the bear directly on top of him to move his current position.
Bo is a quite hard target to be killed in my opinion. First, he is a sniper-type, this means that he can kites you easily, making a hard time for a Nita player to get near Bo. Second, Bo has roughly 900 hitpoints. It means that you will need good teammates if you want to take down a Bo.
Even though Bo is not as tanky as El Primo or even Bull. His long-range is what makes him a tanky brawler, he can just kites you easily, not to mention that he also can disable you with his landmine. A good cooperation with your teammates and your bear is very crucial to take down Bo.
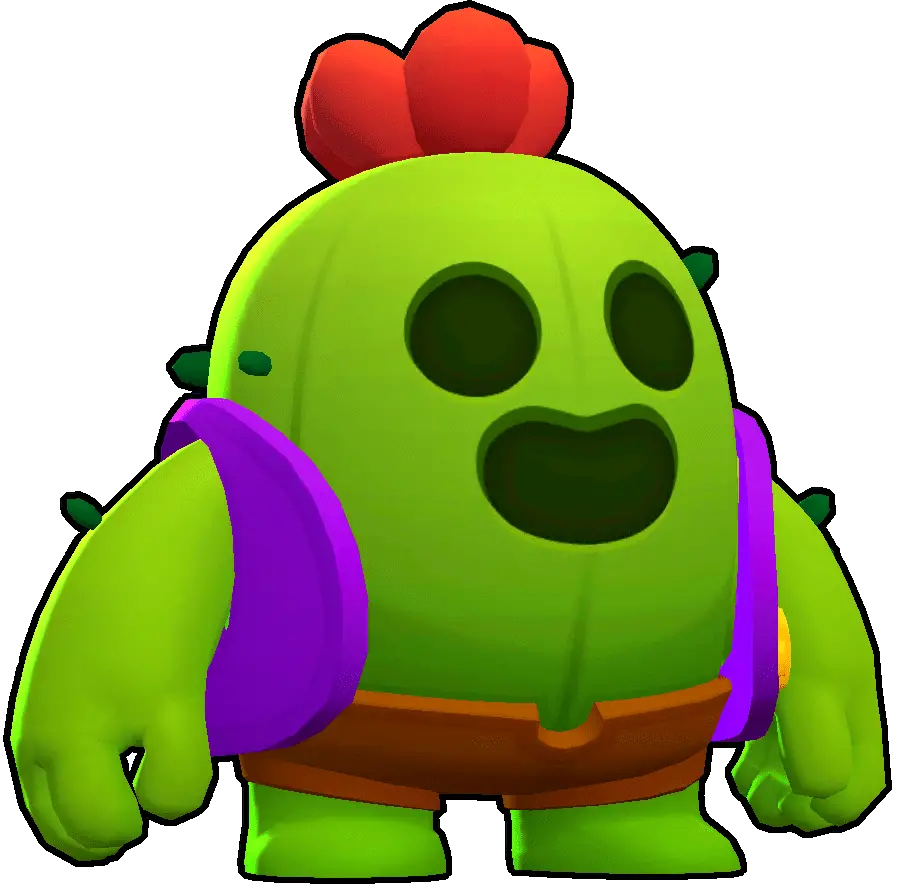
Not much I know about playing against a Spike player, but what I know is that Spike does a lot of damage even though he is a splasher.
You can use your bear as a cover for you to kill Spike, as Spike damage is lower if splitted. Never ever try to solo a Spike, even though he is squishy, his damage is just ridiculously high.
One of the useful method i learned against a Spike is to stay inside your bear body, I know that it seems stupid but sometimes it may work. You can also use your bear as a mobile wall that can defend you against any non-splashy projectiles.
You cannot hide behind the wall against a Spike player. He can also easily finds a target inside bushes with his large cactus attack. Deploy your bear on top of him followed by chasing him if you want to kill Spike fast, it is all or nothing indeed.
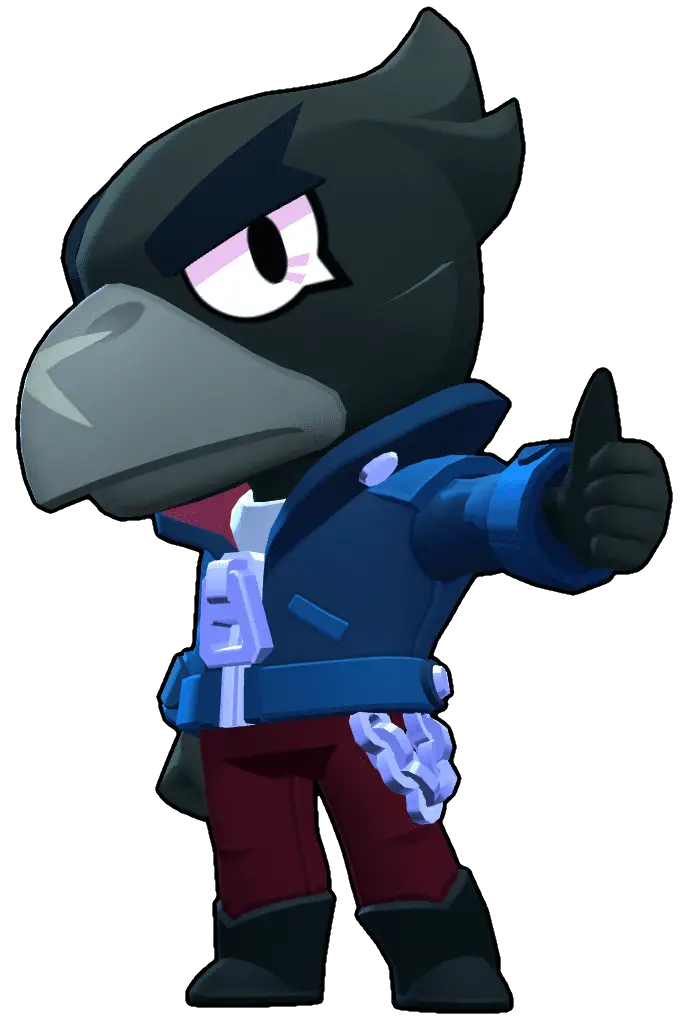
Crow, the bird that can throw 3 poison dart that does damage over time. Like Spike, Crow also has a small health pool.
Crow can also be considered as a good control brawler, he can easily poke you and the DOT it gives will make your time to recover significantly longer. Fighting him one on one can be a risky one. Quickly summon a bear to tank the dart for you. And if you can reach the Crow, kill him with your rupture while he is busy killing the bear.
His super doesn’t do that much damage, you can also see the area where he lands so it will be an easy breezy dodge. He can also use his super to retreat, nothing much to do if he does that because the distance is quite long.
Game Modes
Talking about game modes, Nita can easily be played effectively in all 4 of them. Let’s just check it out:

Bounty
Bounty is like the simplest mode, in my opinion, here you will fight as a team against another team. The difference of bounty and a normal teamfight mode is that in bounty, comeback can happen easily. As you will give more points to the enemy if you are in a kill streak.
You will need to team up in this situation to make the win much more achievable. Dying a lot early is not a problem as long as you can get those bounties back. Use your bear strategically to gank the enemy. Retreat when you need to and fight when your health is full. Charge your super as fast as possible so that you can summon the 4th man.
At the start of the match, run to the star but do not claim it. You will want to spam rupture to the enemy side so hopefully you can get your super charged up. If you have your super ready, go gank with your friends with the cover of your big baby bear.
If you get a lot of bounties, play defensively and do the classic hide n’seek. This game is like smash and grabs when you have a lot of bounties, you need to protect them at all costs. Quickly hide when there is no enemy in vision to make hiding far easier.

Heist
First of all, Nita is excellent in both offense and defense team. In my opinion, your teamwork with your teammates is hardly needed over all game modes.
In offense, your main key is to have teamwork. A push of 3 brawlers is far stronger than 3 waves of 1 brawler. Have your supercharged as soon as possible, so by the time you get to enemy base, throw the bear directly on top of the safe. It can be guaranteed damage easily. Having a Bull or El Primo as your team can also be good for a prime tank and distraction while your bear is busy attacking the safe
In defense, along with teamwork, your main goal is to not stay passive at the base, waiting for attackers to come by. You need to fight them on their side of the base to get area control. Defending is much easier if you have the area lead because the enemy will have a hard time passing through you and your bear.
Have your bear to chase the enemy back to their base, you can also support the bear to kill the brawler.
Last note, it doesn’t matter how skilled you are if your team has no teamworks. Never ever try to rush the safe alone, wait for your time to respawn and aim the safe together. Teamwork makes the dream work!
Want to read more about Heist? Read our Heist guide!

Gem Grab
The best mode for Nita in my opinion. The bear zoning power is very effective and highly recommended to be used. Get your super ready and do not hesitate to stay in the middle. Nita is not a good crystal carrier for smash and grab. The preferable crystal carries is either a tank or Mortis, though I would say that Mortis is the best crystal carrier.
Your main job as a Nita in smash and grab is to gain the area advantage. Along with your other 2 teammates, use your bear as the main zoning leader and acquire the mine area. If your team gets enough gem and the countdown is starting, use your bear to distract them and do not hesitate to sacrifice yourself if you don’t carry any crystal.
Nita can also be a good ganker here. As the map is small, I would like to gank the enemy by cornering him with the power of 2-man army. Place the bear behind the enemy to make them not being able to go back in a straight line.
Last note, try to not become a crystal carrier if possible. You may want to give 1 person role as the crystal carrier so defending crystal can be easier. Your power that is needed the most is to zone enemies out of the gem mine with your bear and also the support of your teammates.
More: Best Tips for Smash and Grab

Showdown
The last game mode I will discuss here, a showdown is the battle that requires skill the most. Teamwork is not needed here unless you are a dirty player ( mueheheehe). Nita is not that good at taking out a crate box, but she is decent when she takes 2 crates or 3 crates at a time.
You can pretty much gank weak brawler in this game mode to get some fuel packs. Avoid strong brawler at all costs. You will need your bear 24/7 to avoid being an easy target for the enemies.
If you aren’t confident of your fighting skills, hiding skill will be used here. The goal here is to hide until at least there are only 5 brawlers left. If you manage to hide until only 5 left, you can either continue your prodigy hiding strategy or fight like a real man to aim for the #1. Most of the time, hiders will just get 3rd position, 2nd if the situation is lucky.
But if you fight till the end of the day, the #1 position can be truly yours. As you can get fuel packs if you fight and hiding will not gives you any power-ups to fight.
More: Best Brawlers for Showdown!
Conclusion
Nita is a very strong and versatile brawler. Her strengths comes from her super ability that can summon a mighty semi-brawler to fight along with you. She is also not relatively squishy and her splash might come in handy. Her weakness is her lack of range to deal with long-range units. Although she can deal with the sniper by throwing the bear pokeball, the lack of range in Nita is absolutely undeniable.
Nita can also be a good heist pusher and a strong damage dealer. Just by deploying the bear on top of the safe, it causes a lot of havoc in the defender’s side. Another weaknesses of Nita is she is not as strong as another brawler without her bear. But if you have your bear, you sure are stronger than most of the brawler on 2 v 1 scenario.
DO YOU GUYS READ ALL OF THESE UNTIL THE END?? Thanks a lot for all of you who read it or who even don’t, it takes me a full day to create this 4.5k words filled guide.
Feel free to criticize me if there is any mistake or language.
This is my Nita guide.
Farewell and peace out.
B.W
[kkstarratings]





Anonymous
Visitor Rating: 5 Stars
Anonymous
Visitor Rating: 4 Stars
SparkyIsLife
1st, i love the Panda
Anonymous
Visitor Rating: 4 Stars
Anonymous
Visitor Rating: 5 Stars
Bezbakri
2nd. My current favorite brawler.
Jay
so im 1st?
Bezbakri
Yes.
Jeremy :)
3rd. At lvl 12 with it. Just amazing for support.
MLGMLGMLG (aka miner ftw)
pay to win?
Jeremy :)
nope…
Jeremy :)
and they nerfed it so bad its useless now for trophy pushing unless ur team is based around it
Jeremy :)
or maybe its piper…
MLGMLGMLG (aka miner ftw)
ugh so just lucky
Jeremy :)
no… takes skill
MLGMLGMLG (aka miner ftw)
oh then maybe i don’t know how to spend elixir xD
Anonymous
Visitor Rating: 2 Stars
Anonymous
Visitor Rating: 1 Stars
Will Potter
Vote for Nita guys!
mega knight a little too OP
el primo is still sorta good
Willam
Visitor Rating: 5 Stars
Anonymous
Visitor Rating: 5 Stars
Bezbakri
Just a fact. Bo’s trap ain’t triggered by BBB. Learnt it the hard way while trying to kill the bear.
B.W
Nope, it is going to be in upcoming balance update! :))
Anonymous
Visitor Rating: 5 Stars
Anonymous
Visitor Rating: 5 Stars
Anonymous
Visitor Rating: 5 Stars
Anonymous
Visitor Rating: 4 Stars
Anonymous
Visitor Rating: 1 Stars
Anonymous
Visitor Rating: 5 Stars
Anonymous
Visitor Rating: 5 Stars
Anonymous
Visitor Rating: 5 Stars
Anonymous
Visitor Rating: 5 Stars
Anonymous
Visitor Rating: 5 Stars
Anonymous
Visitor Rating: 4 Stars
Anonymous
Visitor Rating: 5 Stars